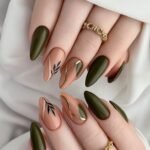
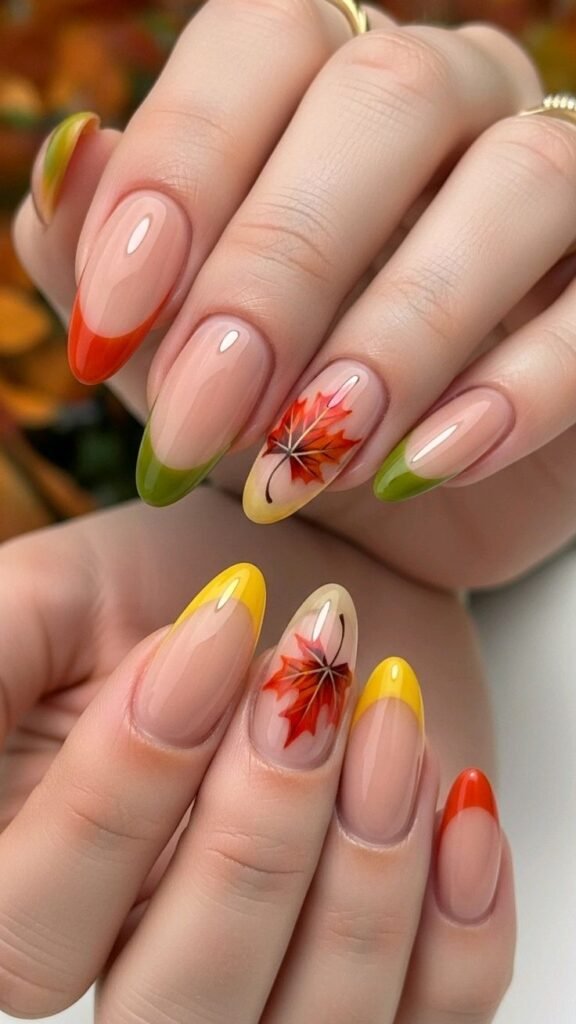

Have you ever looked at beautiful nail designs online and wished you could recreate them without visiting a salon? The good news is that you do not need expensive tools or professional skills to get started. With a little patience, a few basic supplies, and some creativity, you can create beautiful nails right at home.
DIY nail art is a fun way to express your personality, experiment with different colors, and give your manicure a personal touch. Whether you love soft nude shades, colorful patterns, or classic French tips, there is a design for every style and skill level.
In this guide, you will discover easy DIY nail designs, essential tools, step-by-step instructions, and practical tips to help your manicure look neat and last longer.
What Is DIY Nail Art?
DIY nail art means decorating your nails yourself instead of visiting a nail salon. You can use regular nail polish, simple brushes, stickers, and everyday tools to create different patterns and designs.
One of the best things about nail art at home is the freedom to experiment. You can try a new design whenever you want without paying for a salon appointment. If your first attempt does not turn out exactly as planned, you can remove the polish and try again.
DIY nail art is also suitable for different nail lengths and shapes. Short, natural nails can look just as attractive as long nails when you choose a design that suits your preferences.
Essential Tools You Need for DIY Nail Art
You do not need to buy a large nail art kit to begin. A few basic supplies are enough to create attractive designs.
Nail Polish and Base Coat
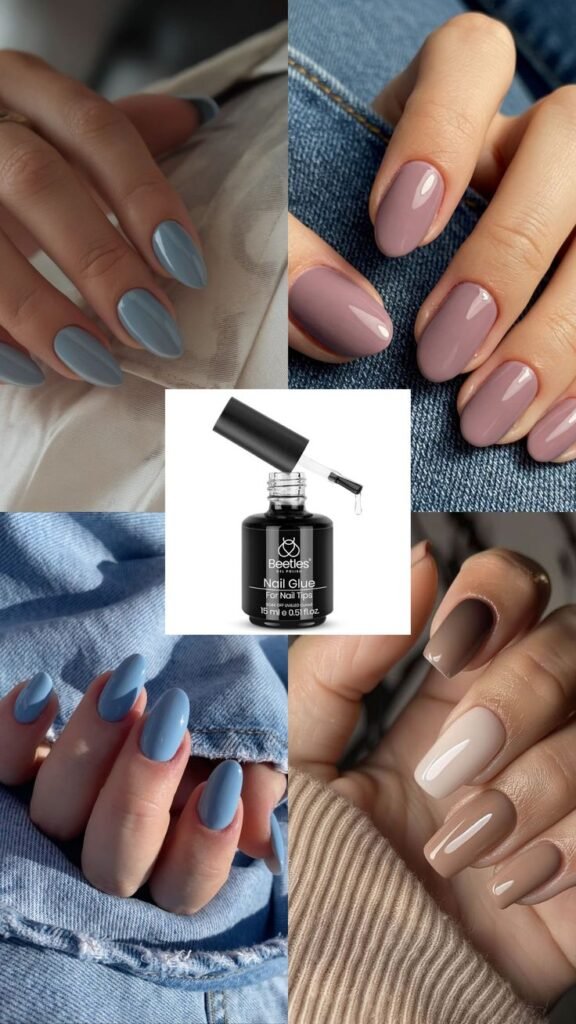
Choose a few nail polish colors that complement each other. Nude, pink, white, black, and pastel shades are useful for creating many simple designs.
A base coat helps prepare the nail surface for polish, while a top coat adds shine and helps protect your finished design.
Thin Nail Art Brushes
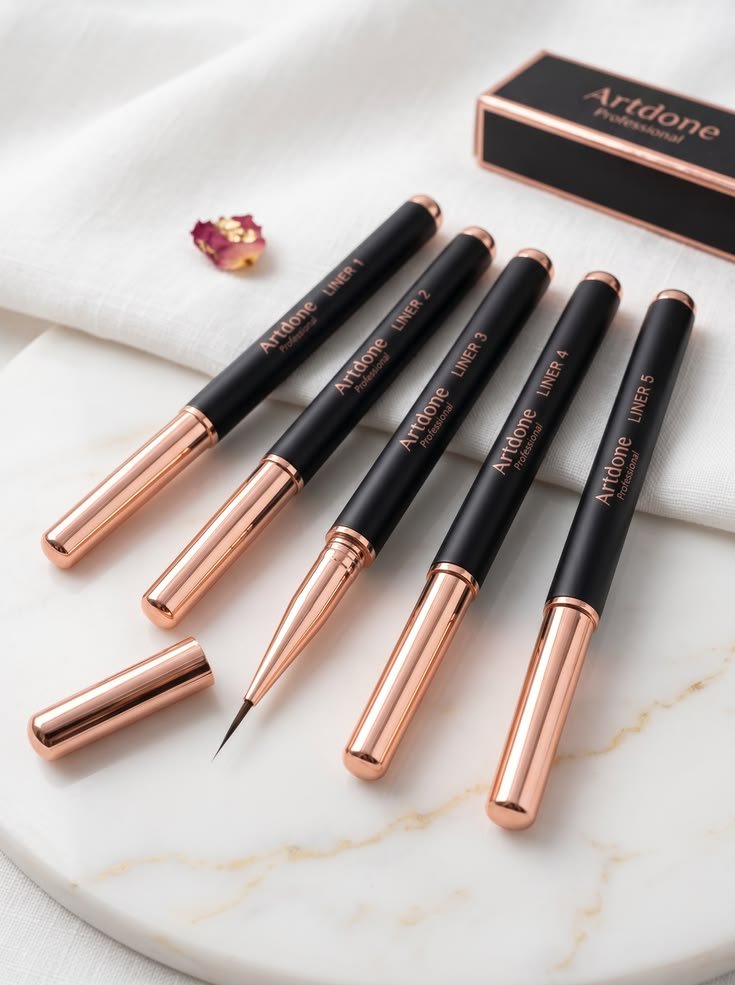
Thin brushes are helpful for creating lines, small flowers, swirls, and French tips. If you do not have a nail art brush, you can start with a clean, fine brush designed for nail polishDotting Tools and Toothpicks
Dotting tools make it easier to create dots, flowers, and other small patterns. A toothpick can also work for simple designs, although it may be less precise than a proper tool.
Nail Stickers and Tape
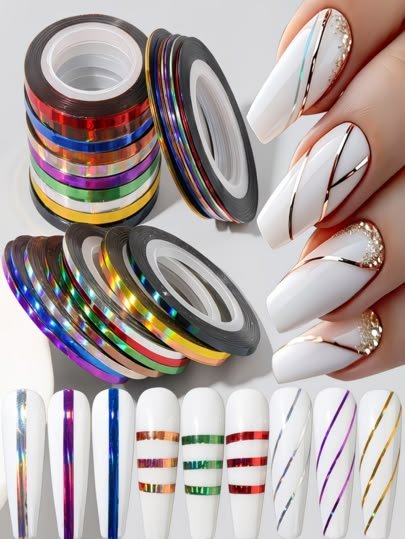
Nail stickers are a convenient option when you want a detailed design without drawing everything yourself. Nail tape can help create straight lines and geometric patterns.
Nail File and Cuticle Care Products
A nail file helps you shape your nails before applying polish. A gentle hand cream and cuticle oil can help keep the surrounding skin moisturized.
Easy DIY Nail Art Designs for Beginners
If you are new to nail art, start with simple patterns rather than complicated designs. These easy DIY nail art ideas are beginner-friendly and can be adapted to different colors and nail shapes.
Simple Dot Nail Art
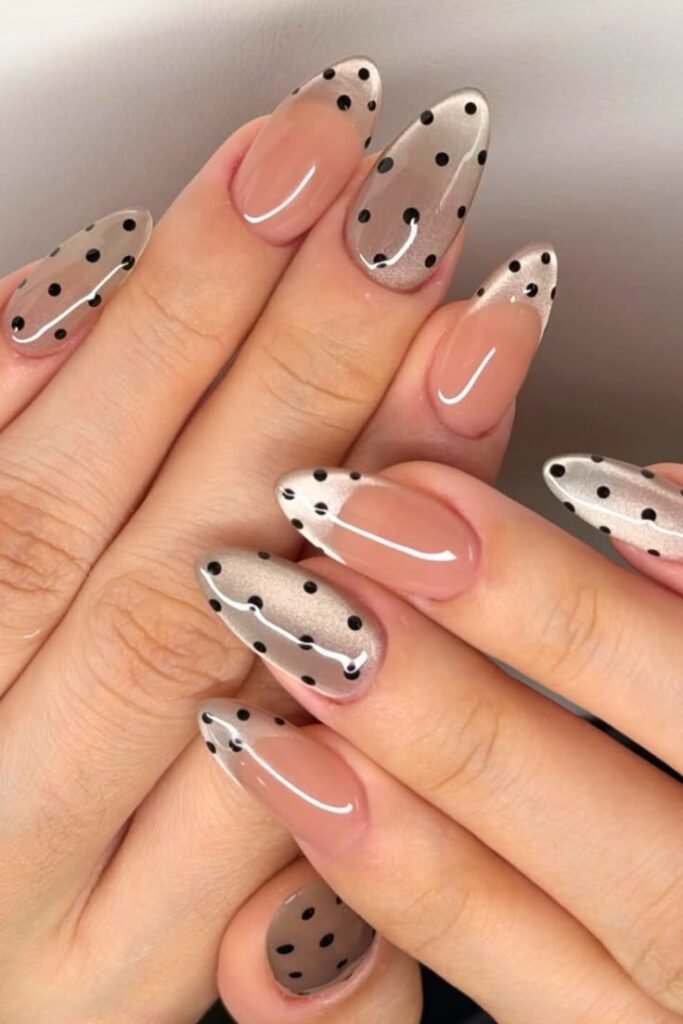
Dot nail art is one of the easiest ways to decorate your nails. It looks playful, neat, and attractive without requiring advanced skills.
Start with a solid base color and let it dry. Use a dotting tool or toothpick to add small dots in another color. You can place a single dot near the cuticle, create a row of dots, or arrange them into tiny flowers.
For a clean look, try white dots on a nude or pastel pink base. If you prefer something bolder, combine contrasting colors.
Minimalist Nude Nail Designs
If you prefer simple and elegant manicures, minimalist designs may be perfect for you. They work well for everyday wear, office outfits, and special occasions.
Apply a nude, beige, or soft pink polish as your base. Once it dries, add a thin line, a tiny heart, or a small dot on one or two nails.
These simple nail art for beginners designs are easy to customize. You can keep every nail similar or add a small detail to your ring finger for variety.
Easy French Tip Nails
French tips are a classic choice that suits many outfits and occasions. The traditional style features a natural-looking base with white tips, but you can experiment with different colors.
Apply a sheer pink or nude base coat and allow it to dry. Carefully paint a thin white line across each nail tip. If drawing freehand feels difficult, use French tip guides to help create a cleaner edge.
For a modern look, try pastel blue, soft pink, or chocolate-brown tips instead of white. These DIY nail designs offer a simple way to refresh a timeless manicure.Cute Heart Nail Art
Heart designs are a lovely choice when you want something sweet without making your manicure too complicated.
Start with a light pink, white, or nude base. Use a dotting tool to place two small dots close together, then gently connect them into a heart shape using a fine brush or toothpick.
You can add one small heart to each nail or decorate only one accent nail. Red and pink hearts look romantic, while white hearts on a pastel base create a softer appearance.
Simple Floral Nail Designs
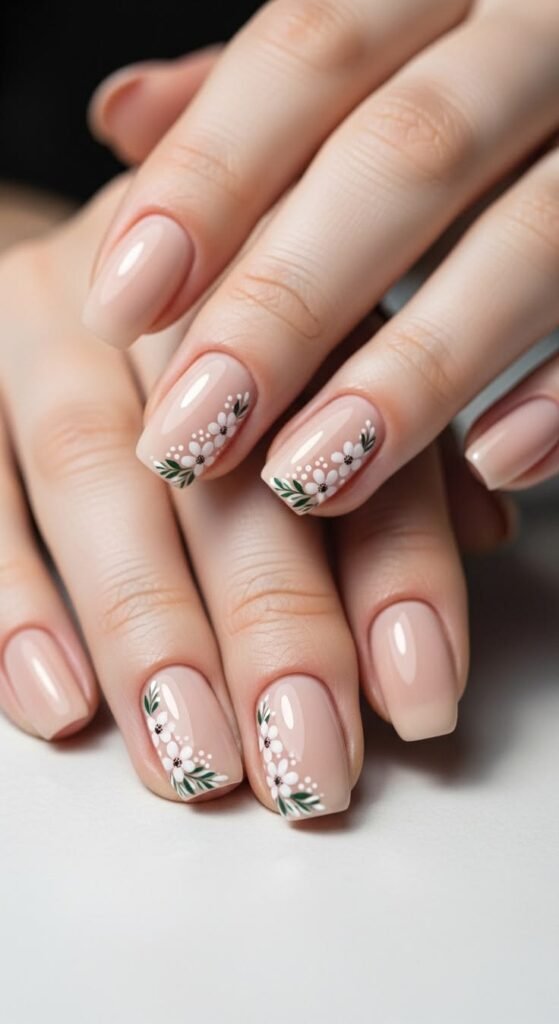
Flowers can make your manicure look fresh and cheerful. Fortunately, you do not need to be an artist to create a basic floral pattern.
Apply your favorite base color and let it dry. Use a dotting tool to create five small dots in a circle. Add a different-colored dot in the center to complete the flower.
You can place tiny flowers near the tips or create a small pattern on your accent nails. Pastel shades are ideal for spring-inspired designs, while darker colors can create a more dramatic look.
Two-Color Nail Art
Sometimes, two complementary colors are all you need to create an interesting manicure.
Choose shades such as pink and white, beige and brown, or lavender and pale blue. Paint your nails in one color, then use the second shade to add diagonal lines, half-moon shapes, or simple geometric patterns.
For an even easier option, alternate the two colors across your nails. This style is especially useful when you want attractive nail art ideas without spending too much time on detailed designs.
Glitter Nail Art at Home
Glitter can add sparkle to your nails without requiring a complicated pattern. It works well for parties, celebrations, or whenever you want a little extra shine.
Apply your chosen base color and let it dry. Add glitter polish to the entire nail, the tips, or just one accent nail. Finish with a suitable top coat to help smooth the surface and protect the design.
If you prefer a subtle effect, choose fine glitter over a nude or pale pink base. For a bolder manicure, try silver or gold glitter over a darker shade.
How to Do DIY Nail Art at Home Step by Step
Creating a neat manicure becomes easier when you follow a simple routine. Before starting, make sure your workspace is clean and well-ventilated.
Clean and Shape Your Nails
Remove any old nail polish and gently file your nails into your preferred shape. Wash your hands and dry them thoroughly before applying products.
Avoid cutting or aggressively pushing back your cuticles, as they help protect the area around your nails.
Apply a Base Coat
Apply a thin layer of base coat and allow it to dry according to the product instructions. This creates a suitable foundation for your nail polish.
Add Your Base Color
Choose a color that suits your design and apply a thin, even layer. If you want more coverage, apply another thin coat after the first has dried sufficiently.
Thick layers can take longer to dry and may smudge more easily.
Create Your Nail Design
Use a brush, dotting tool, sticker, or nail tape to create your chosen pattern. If you are a beginner, try dots, simple lines, or French tips before moving on to more detailed designs.
Take your time and work on one nail at a time. Small imperfections are normal when you are learning.
Let Your Design Dry
Allow your nail art to dry according to the polish instructions before applying additional products. Avoid touching the surface to check whether it is dry, as this can leave marks.
Finish With a Top Coat
Apply a thin layer of top coat to help protect your design and add shine. Follow the product instructions for drying time, and clean up any polish on your skin with an appropriate remover.
Easy DIY Nail Art Ideas for Short Nails
Short nails offer plenty of opportunities for creative designs. You do not need long extensions to enjoy a beautiful manicure.
Here are a few ideas worth trying:
- Tiny floral designs: Small flowers add detail without overwhelming the nail.
- Minimalist lines: Thin vertical or diagonal lines create a clean appearance.
- Nude nail art: Beige, pink, and soft brown shades provide a natural-looking finish.
- Micro French tips: Thin tips create a classic look that works particularly well on shorter nails.
- Small dots and hearts: Simple details can make an everyday manicure feel special.
- Pastel color combinations: Soft shades add color while keeping the overall design subtle.
When choosing nail art for short nails, consider the size of the pattern. Small details and clean lines can help your design look balanced.
Tips to Make Your DIY Nail Art Last Longer
A beautiful manicure is even better when it stays neat for several days. While wear time depends on the polish, nail condition, and daily activities, a few simple habits can help.
Apply Thin Layers
Thin coats usually dry more evenly than thick ones. Allow each layer to dry according to the manufacturer’s directions before adding another.
Seal the Tips
When using regular nail polish, gently sweep the top coat across the free edge of each nail. This can help reduce early tip wear.
Avoid Picking at Your Polish
Picking or peeling polish can damage the nail’s surface. If your manicure begins to chip, remove the polish gently instead of pulling it off.H3: Protect Your Hands During Chores
Wear suitable protective gloves when washing dishes or using household cleaning products. Frequent exposure to water and harsh chemicals can contribute to nail damage and premature chipping.
Keep Your Nails Moisturized
Use hand cream regularly and apply cuticle oil to help maintain moisture around your nails. Healthy nail care habits support a neat-looking manicure.
Common DIY Nail Art Mistakes to Avoid
Even simple nail designs can become messy when you rush the process. Knowing what to avoid can help you get better results.
- Skipping the base coat: A suitable base coat helps prepare your nails for polish.
- Applying thick layers: Thick coats may take longer to dry and can smudge.
- Starting detailed art too soon: Allow your base color to dry sufficiently before creating patterns.
- Using dirty tools: Clean tools help keep your manicure process hygienic.
- Ignoring product instructions: Different nail products have different application and drying requirements.
- Getting polish on your skin: Clean up stray polish carefully and avoid leaving products on the surrounding skin.
One important safety tip: regular nail polish is different from gel polish. Gel products require the correct curing lamp and instructions. Uncured gel can cause skin irritation or allergic reactions, so avoid getting it on your skin and never substitute ordinary air-drying for the required curing process.
DIY Nail Art vs. Salon Nail Art
Both DIY and salon manicures have their own advantages. The right choice depends on your budget, available time, and preferred style.
DIY nail art is usually more affordable because you can reuse your polish and tools for multiple designs. It also allows you to experiment whenever you like and learn at your own pace.
Salon nail art may be a better option if you want highly detailed artwork, specialized extensions, or a professional service for a special occasion. A trained nail technician can also help with certain techniques that may be difficult to perform yourself.
If you enjoy experimenting with colors and patterns, learning nail art at home can be a rewarding hobby. You can always begin with simple designs and decide later whether you want to explore more advanced techniques.
Frequently Asked Questions About DIY Nail Art
How can I do nail art at home for beginners?
Start by cleaning and shaping your nails, applying a base coat, and choosing a simple design. Dots, stripes, hearts, and French tips are good starting points because they require only a few basic tools. What do I need for simple DIY nail art?
You can begin with a nail file, base coat, two or three nail polish colors, a top coat, and a thin brush or dotting tool. Nail stickers and tape are optional extras.
Can I do nail art without special tools?
Yes. You can create basic designs using household items such as a toothpick for dots or simple patterns. Use clean tools carefully, and avoid sharp objects that could injure your nails or skin.
How can I make DIY nail art look professional?
Prepare your nails properly, use thin polish layers, choose colors that complement each other, and allow enough drying time. A steady hand and regular practice can also improve your results.
Which nail art designs are easiest for beginners?
Dot designs, alternating colors, minimalist lines, small hearts, and simple French tips are among the easiest options. Start with one design and try more detailed patterns as your confidence grows.
Is DIY nail art suitable for short nails?
Absolutely. Short nails look attractive with minimalist patterns, tiny flowers, micro French tips, and soft nude colors. Choose designs that fit the available nail space.
Final Thoughts on DIY Nail Art
You do not need professional training or an expensive collection of products to enjoy DIY nail art. A few basic tools, your favorite colors, and a little practice can help you create designs that suit your personal style.
Start with easy DIY nail designs such as dots, nude manicures, simple French tips, or small floral patterns. As you become more comfortable, experiment with different color combinations and more detailed artwork.