
Have you ever wanted beautiful, glossy nails without spending money on salon visits? With the right gel nail products at home, you can create a stylish manicure that suits your personality and fits your budget. Whether you love natural nude shades, classic French tips, or bold and colorful nail art, doing your nails at home gives you the freedom to experiment with different looks.
You do not need to be a professional nail technician to get started. A few essential tools, suitable gel polish, and the right application technique can help you achieve a neat finish. However, choosing quality products and learning how to use them safely are equally important. In this guide, you will discover the essential supplies, how to choose the best products, and how to create a beautiful at-home gel manicure while protecting your natural nails.
What Are Gel Nail Products at Home?
Gel nail products at home are manicure supplies designed to help you apply gel polish without visiting a nail salon. These products usually include gel nail polish, a base coat, a top coat, a compatible UV or LED lamp, nail files, and nail preparation tools. Some kits also include removal supplies and other accessories that make the process easier for beginners.
Unlike traditional nail polish, most gel polish formulas require a suitable lamp to cure and harden. Once properly applied and cured, gel polish can provide a smooth, glossy finish that often lasts longer than regular nail polish. The results depend on the product quality, application technique, and how well you care for your nails.
Choosing the right gel nail products at home also allows you to explore different colors and designs whenever you want. From simple everyday manicures to creative nail art, you can build a routine that matches your preferences without scheduling salon appointments.
Essential Gel Nail Products You Need at Home
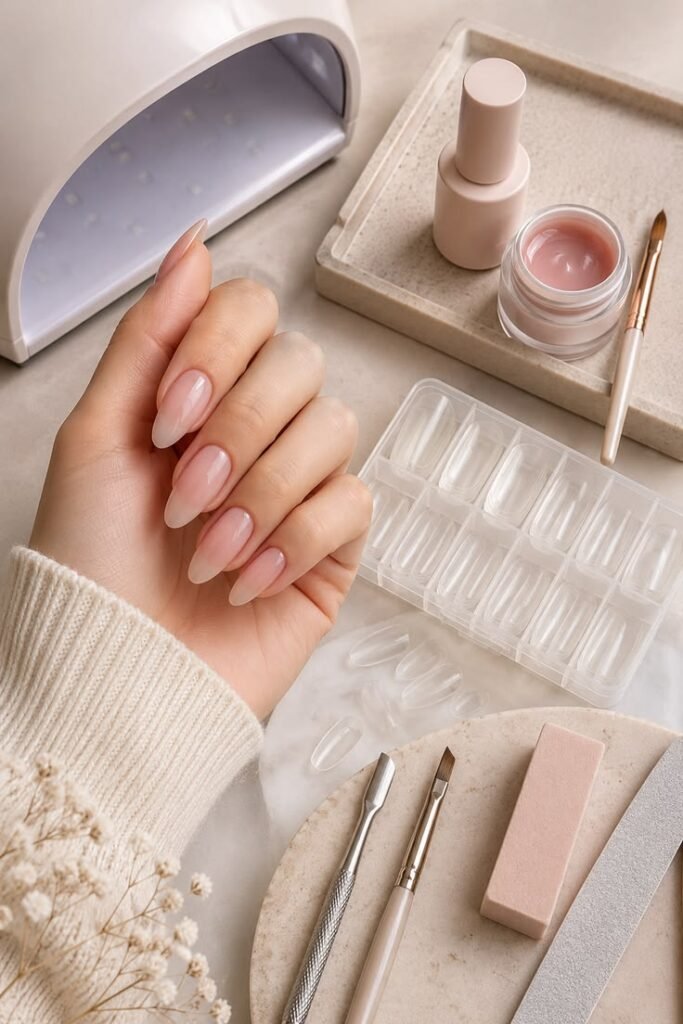
Before starting your manicure, it helps to understand which products you need and how each one works. Choosing the right essentials can save money, reduce confusion, and make your nail care routine more convenient.
Gel Nail Polish
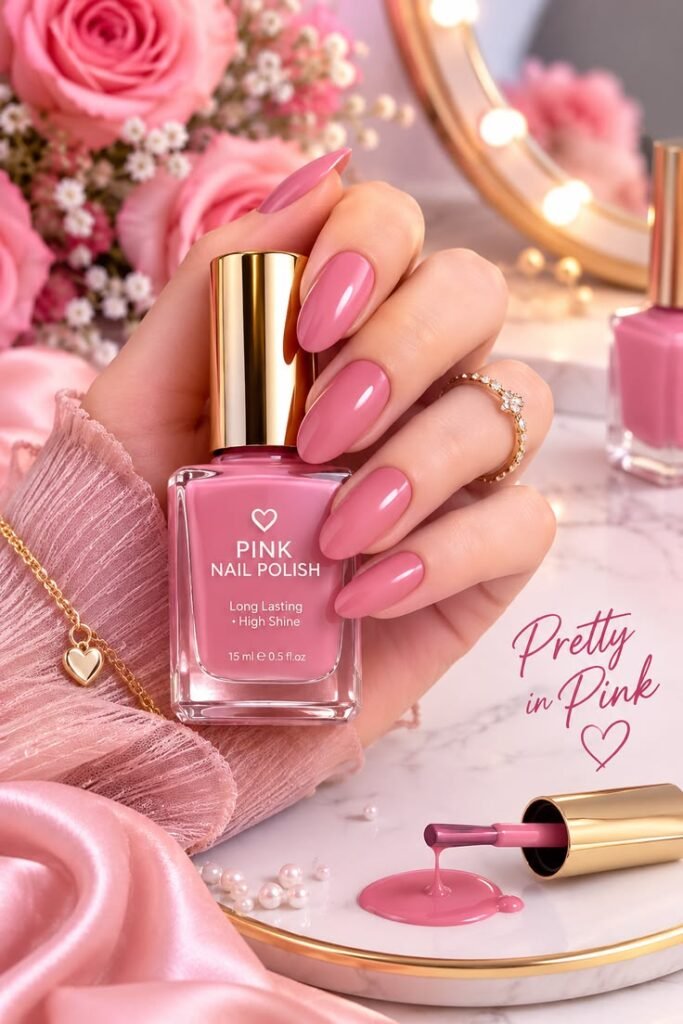
Gel nail polish at home is the main product responsible for adding color and style to your nails. It is available in countless shades, including pink, red, white, black, nude, and glitter finishes. Beginners may find neutral shades easier to work with because they complement many outfits and occasions.
When selecting gel polish, look for products from reputable brands with clear instructions and ingredient information. Make sure the polish is compatible with your curing lamp. Applying thin, even coats can help create a smoother finish and reduce the chance of applying too much product.
UV or LED Nail Lamp
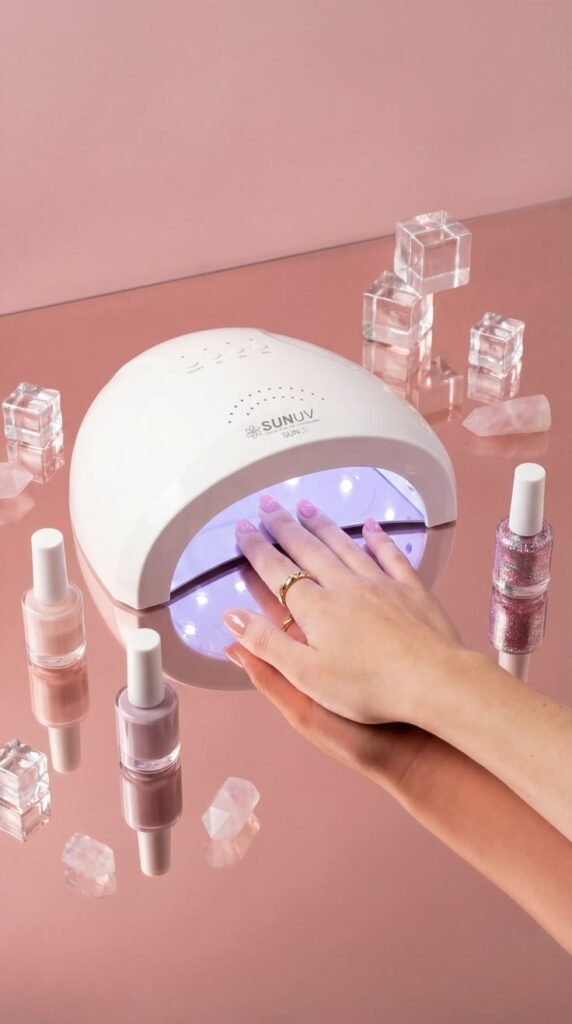
A suitable curing lamp is an essential part of most gel nail products at home systems. It helps harden gel polish according to the manufacturer’s instructions. However, not every lamp works with every gel formula, so compatibility should always be checked before purchasing.
Avoid choosing a lamp based only on its appearance or advertised power. Follow the recommended curing time for each product, as improper curing may leave gel insufficiently hardened and increase the risk of an allergic reaction. Never assume that a gel is fully cured simply because its surface feels dry.
Base Coat and Top Coat
A base coat and top coat perform different functions in a gel manicure. The base coat provides a foundation for the color layer, while the top coat helps create the desired finish and protects the manicure from everyday wear.
For the best results, choose products designed to work together. Apply thin layers and keep the gel away from your cuticles and surrounding skin. Depending on the formula, a top coat may leave a sticky layer after curing or may finish completely dry, so follow its specific instructions.
Nail Preparation Tools
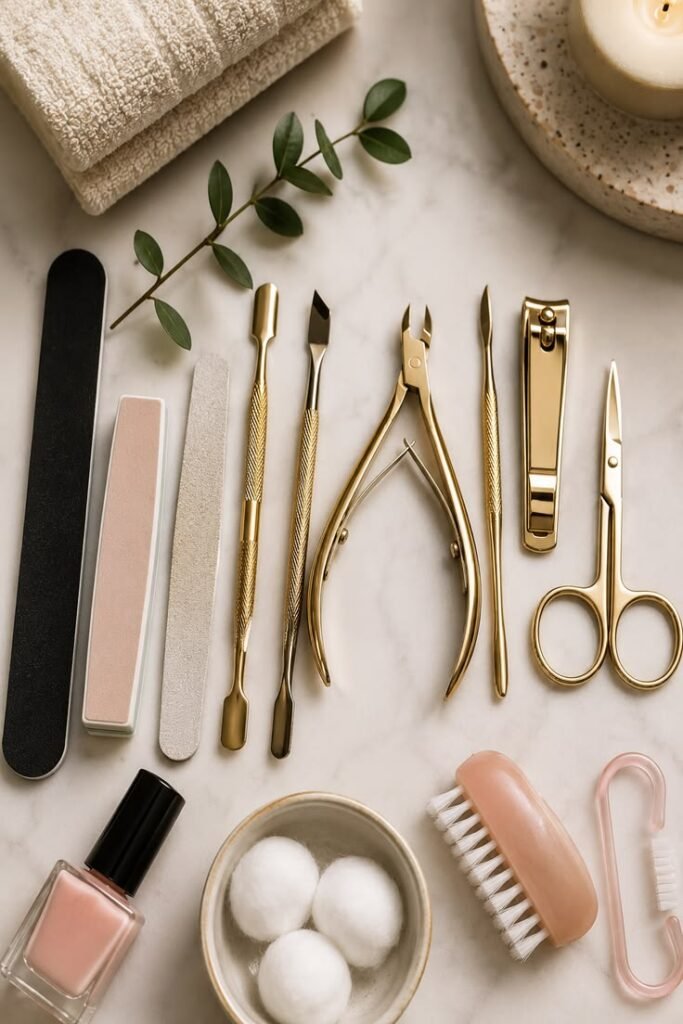
Proper preparation can make your manicure easier and help you achieve a more even result. Essential gel nail tools and supplies include a nail file, a gentle buffer, lint-free wipes, a suitable nail cleanser, and a cuticle pusher if needed.
Use these tools gently to avoid damaging your natural nails. Excessive buffing can weaken the nail plate, while cutting living cuticle tissue can increase the risk of infection. Clean, dry nails provide a better starting point for your manicure.
Gel Nail Removal Products
Removing gel polish correctly is just as important as applying it. Depending on the formula, you may need acetone, cotton pads, foil wraps, or a dedicated gel removal kit.
Different gel systems may require different removal methods, so read the manufacturer’s directions before starting. Never peel, bite, or forcefully scrape gel polish from your nails. These habits can remove layers of the natural nail and leave your nails weak, rough, or sensitive.
How to Choose the Best Gel Nail Products at Home
With so many options available, choosing suitable nail products can feel confusing. Instead of purchasing every tool you see online, focus on the essentials, product compatibility, and clear safety instructions.
Choose a Beginner-Friendly Gel Nail Kit
A gel nail kit for beginners can be a convenient starting point if you have never applied gel polish before. Many kits combine a curing lamp, gel colors, base coat, top coat, and basic accessories in one package.
Before buying, check what the kit includes and whether the lamp is suitable for the supplied products. Read reviews carefully and look for clear application and removal instructions. A simple, reliable kit is often more useful than a large collection of products you may never use.
Check Product Quality and Ingredients
When shopping for gel nail products at home, choose reputable brands and sellers. Check ingredient labels, warnings, and instructions rather than relying entirely on attractive packaging or low prices.
Uncured gel should not come into contact with your skin because certain ingredients can cause allergic reactions. If you experience itching, redness, swelling, or a rash, stop using the product and seek medical advice when necessary.
Make Sure Your Products Are Compatible
One of the most important steps is ensuring that your gel polish, base coat, top coat, and lamp work together. Some gel formulas require specific curing conditions, so mixing products without checking compatibility can lead to disappointing results.
For a consistent at-home gel manicure, follow the instructions for your chosen system. Proper compatibility, careful application, and the correct curing process are more important than owning a large number of nail products.
How to Do Gel Nails at Home Step by Step
Learning how to do gel nails at home becomes easier when you follow a clear routine. Prepare your workspace, organize your supplies, and read the instructions before applying anything to your nails.
Prepare Your Natural Nails
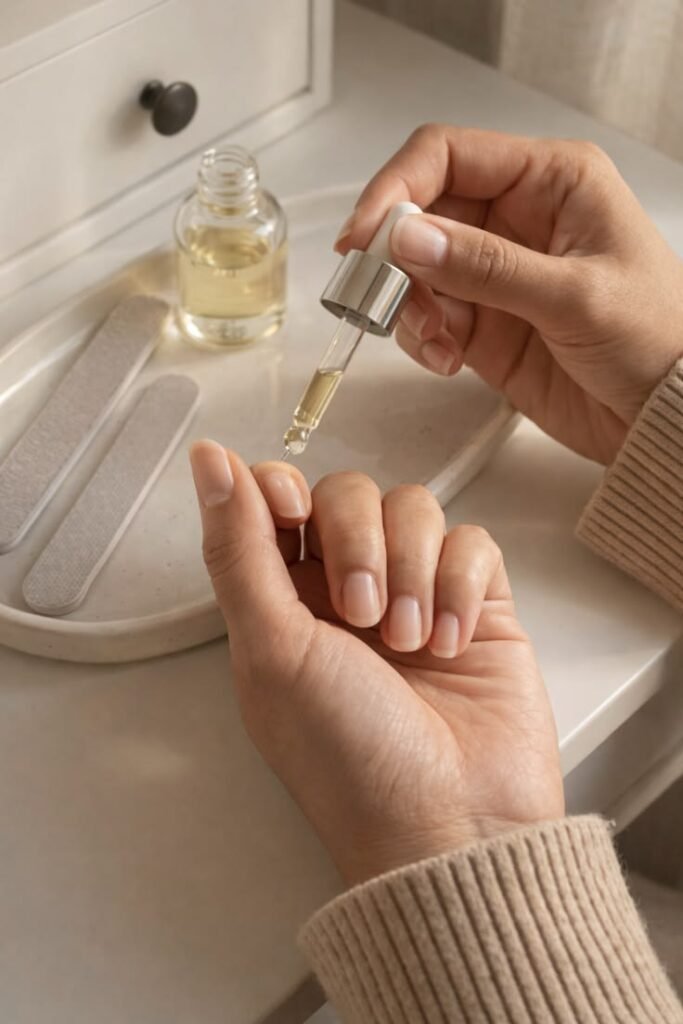
Begin by removing any existing nail polish and washing your hands. Dry your nails thoroughly, then use a nail file to shape them according to your preference. If your product requires surface preparation, follow the directions and avoid excessive filing.
Do not cut your cuticles or aggressively push them back. The surrounding skin helps protect the nail area, and damaging it can increase the risk of irritation or infection. Careful preparation provides a clean foundation for your DIY gel nails.
Apply the Base Coat
Apply a thin layer of compatible base coat, keeping it away from the skin and cuticles. Cure it under the recommended lamp for the specified time.
If uncured gel touches your skin, remove it before curing according to the product instructions. Do not put your hand under the lamp while gel remains on your surrounding skin. Clean application is an important part of using gel nail products at home safely.
Apply Your Gel Nail Polish
Choose a color that matches your style and apply a thin, even layer. Begin with a small amount of gel nail polish at home and spread it carefully across the nail without flooding the cuticles or sidewalls.
Cure the layer according to the manufacturer’s instructions, then apply another thin coat if needed. Multiple thin coats generally provide better control than one thick coat. Remember that different formulas may require different curing times, so always follow the specific directions.
Apply the Top Coat
Once the color layers are complete, apply a compatible top coat to finish the manicure. Use smooth strokes and avoid getting the product on your skin. Cure it according to the manufacturer’s directions.
Some top coats require a cleanser to remove a sticky residue, while others do not. Check the label before taking this step. A properly finished top coat can give your manicure a glossy appearance and help protect the color from everyday wear.
Moisturize Your Hands and Cuticles
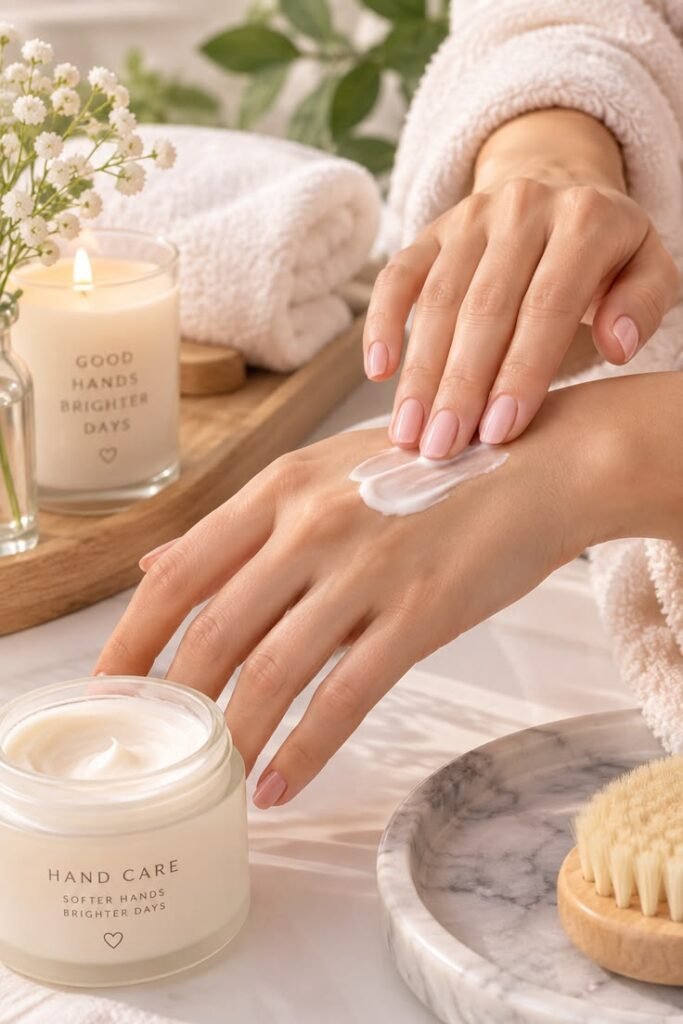
After completing your manicure, apply cuticle oil and a hand moisturizer to help keep the surrounding skin soft and comfortable. Regular moisturizing is useful because frequent handwashing and exposure to cleaning products can dry out your hands.
If your nails become brittle, peel, or feel unusually sensitive, consider taking a break from gel manicures. Healthy natural nails are more important than maintaining a particular manicure at all times.
Popular Gel Nail Designs You Can Try at Home
One advantage of using gel nail products at home is the freedom to experiment with different looks. You can start with simple designs and gradually explore more detailed nail art as your skills improve.
Classic Nude Gel Nails
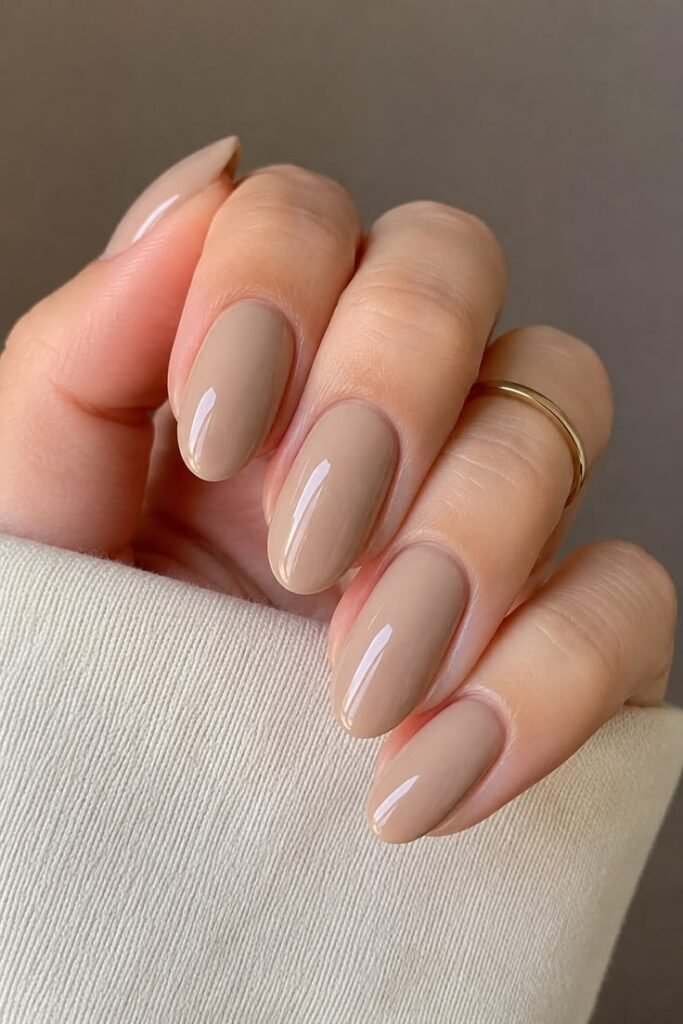
Nude gel nails are a versatile option for everyday wear. Shades such as beige, soft pink, and milky cream complement different outfits and create a clean, understated appearance. They are also a good choice for beginners who want to practice applying polish evenly.
French Tip Gel Nails
French tips feature a natural-looking base with white or colored tips. This style works well for casual outings, professional settings, and special occasions. Beginners can start with a simple design before trying more detailed variations.
Glitter Gel Nails
Glitter gel polish adds sparkle without requiring complicated nail art techniques. You can apply glitter to every nail or use it as an accent on one or two fingers. Choose a formula designed for your gel system and follow the appropriate curing instructions.
Minimalist Gel Nail Art
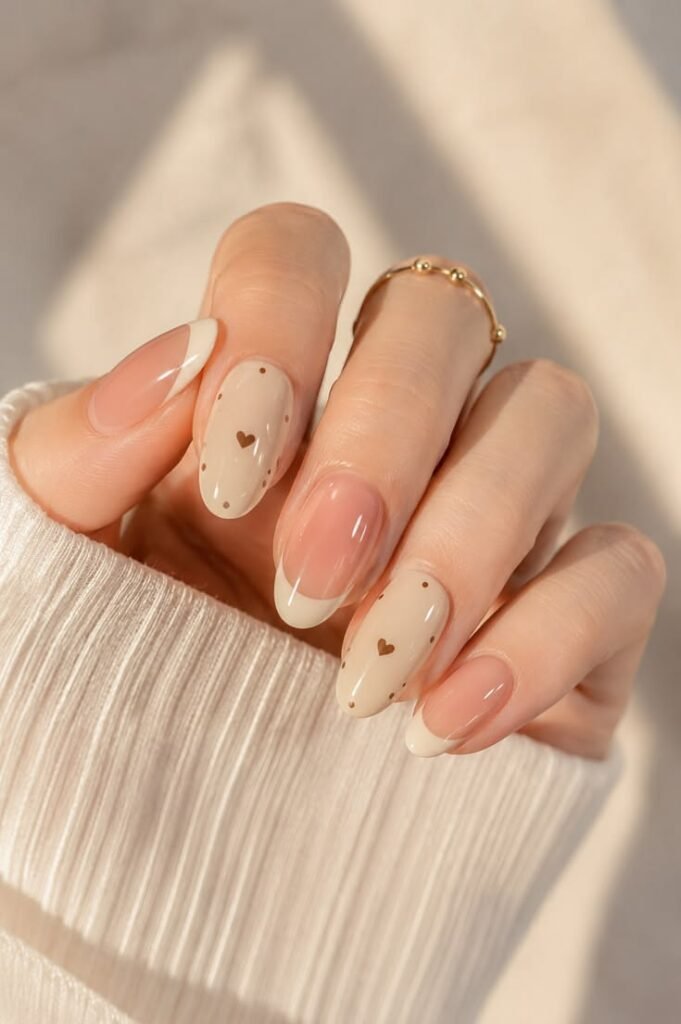
Minimalist designs include small dots, delicate lines, simple geometric shapes, and subtle color combinations. These styles can look attractive without requiring extensive nail art experience. Start with simple patterns and practice on one nail before completing the whole manicure.
Common Mistakes to Avoid When Using Gel Nail Products at Home
Even high-quality products may produce disappointing results when used incorrectly. Understanding common mistakes can help you create a neater manicure and reduce the risk of nail damage.
One common mistake is applying thick layers of gel polish. Thick layers may not cure properly, so apply thin coats and follow the manufacturer’s recommended curing time. Another mistake is allowing gel to touch the skin around the nail. Repeated exposure to uncured gel can trigger an allergic reaction in some people.
Using an incompatible lamp is another issue. A lamp that does not meet the product’s curing requirements may leave the gel insufficiently hardened, even if the surface appears dry. Always check compatibility rather than guessing.
Some people also peel off gel polish when it begins to lift. This can damage the natural nail by removing its surface layers. Instead, use the recommended removal method and avoid forcing the product off.
Finally, do not overlook nail preparation and aftercare. Gentle filing, careful application, and regular moisturizing can help you maintain a more comfortable nail care routine.
Are Gel Nail Products at Home Safe to Use?
Gel nail products at home can be used more responsibly when you follow the product instructions and take appropriate precautions. However, gel manicures are not entirely risk-free. Repeated use, aggressive filing, and improper removal may contribute to brittle, peeling, or cracked nails. Some gel ingredients can also cause allergic skin reactions.
To reduce avoidable risks, keep uncured gel away from your skin and use a compatible lamp. Because UV and some LED nail lamps emit ultraviolet radiation, consider applying broad-spectrum, water-resistant SPF 30 or higher sunscreen to your hands before a manicure or wearing UV-protective fingerless gloves.
Avoid applying gel products to damaged, inflamed, or irritated nails. If you notice persistent itching, redness, swelling, nail lifting, or unusual changes, stop using the products and consult a qualified healthcare professional.
Good ventilation, careful handling, and proper storage are also helpful. Keep nail products away from children, and follow any storage and disposal instructions provided by the manufacturer.
How to Make Your At-Home Gel Manicure Last Longer
A beautiful manicure depends on more than the color you choose. Good application habits and regular nail care can help your gel polish maintain a neat appearance.
Start with clean, dry nails and prepare them according to the product instructions. Apply thin, even layers, avoid getting gel on your skin, and cure each layer for the recommended time. Use compatible base and top coats instead of mixing products without checking their requirements.
Protect your hands during cleaning and other activities that involve harsh chemicals. Wearing suitable household gloves can help reduce contact with cleaning products and limit unnecessary wear on your manicure.
Moisturize your hands and cuticles regularly, and avoid using your nails to open packages or scrape surfaces. If the gel starts lifting, do not pull it off. Remove it using the recommended method and allow your natural nails to recover if they become weak or sensitive.
Following these simple habits can help you get better results from your best gel nail products while keeping nail health part of your routine.
Frequently Asked Questions About Gel Nail Products at Home
What products do I need to do gel nails at home?
You typically need gel nail polish, a compatible base coat and top coat, a suitable UV or LED lamp, a nail file, and basic nail preparation supplies. You may also need a cleanser and removal products designed for your particular gel system.
Can beginners use gel nail products at home?
Yes, beginners can learn to apply gel polish at home by following the manufacturer’s instructions carefully. A beginner-friendly kit with compatible products can make the process easier. Start with simple colors and learn safe application and removal before experimenting with more advanced designs.
Do gel nail products require a UV or LED lamp?
Most traditional gel nail polishes require a compatible UV or LED lamp to cure. Regular nail polish generally dries without a curing lamp. Always check the product label because the requirements vary by formula.
How long does an at-home gel manicure last?
An at-home gel manicure may last around two weeks, although the results depend on the product, application technique, nail growth, and daily activities. Avoid keeping a damaged or lifting manicure on your nails just to extend its wear.
How can I remove gel nail polish at home safely?
Use the removal method recommended for your specific gel product. Some soak-off formulas require acetone, while other systems may need a different method. Never peel, bite, or forcefully scrape the polish away, as this can damage your natural nails.
Can gel nail products damage natural nails?
Yes, frequent gel manicures and improper removal can contribute to nail brittleness, peeling, and cracking. Excessive filing may also weaken the nail plate. Gentle application, careful removal, moisturizing, and breaks between manicures can help reduce some of these problems.
What is the best gel nail kit for beginners?
The best gel nail kit for beginners is one that includes compatible products, clear instructions, and a suitable curing lamp. Look for reputable brands, transparent ingredient information, and a removal method that you can follow safely. A larger kit is not necessarily better if it contains products you do not need.
Final Thoughts
Creating a beautiful manicure does not have to mean visiting a salon every time you want fresh color. With suitable gel nail products at home, a compatible curing lamp, and some practice, you can learn to create a neat, glossy finish in your own space.
The key is to choose quality products, understand how each item works, and follow the correct application and removal instructions. Start with the essentials, experiment with simple designs, and gradually develop a routine that suits your personal style.